How to Fix Oven Light Not Working (Simple DIY Steps)
Whether you’re a beginner, a renter, or a homeowner, this step-by-step guide will help you troubleshoot safely, replace the oven light bulb, and know when it’s time to call in a professional. By the end, you’ll feel confident checking, testing, and fixing the problem yourself.
Safety First — Before You Touch Anything
Why Safety Matters
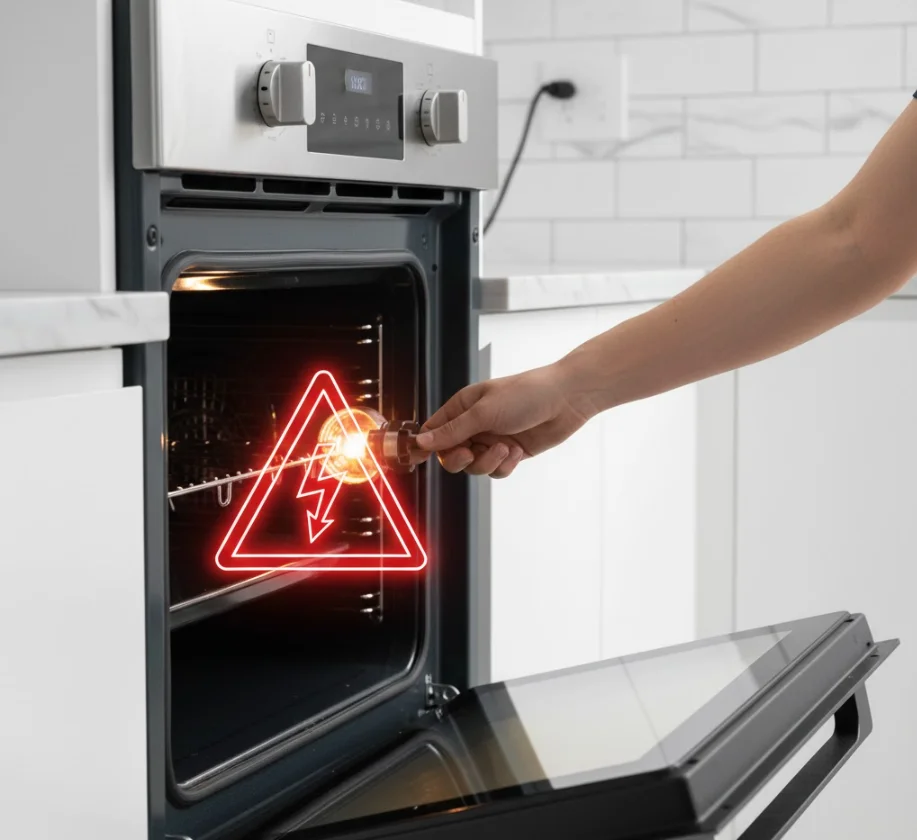
Before you start fixing an oven light not working, it’s important to remember that ovens involve both heat and electricity. Even a small mistake like touching a hot surface or a live electrical part can cause burns or shocks. The glass light cover and bulb can also crack if handled incorrectly. Taking a minute to follow basic safety steps makes the whole process smoother and safer.
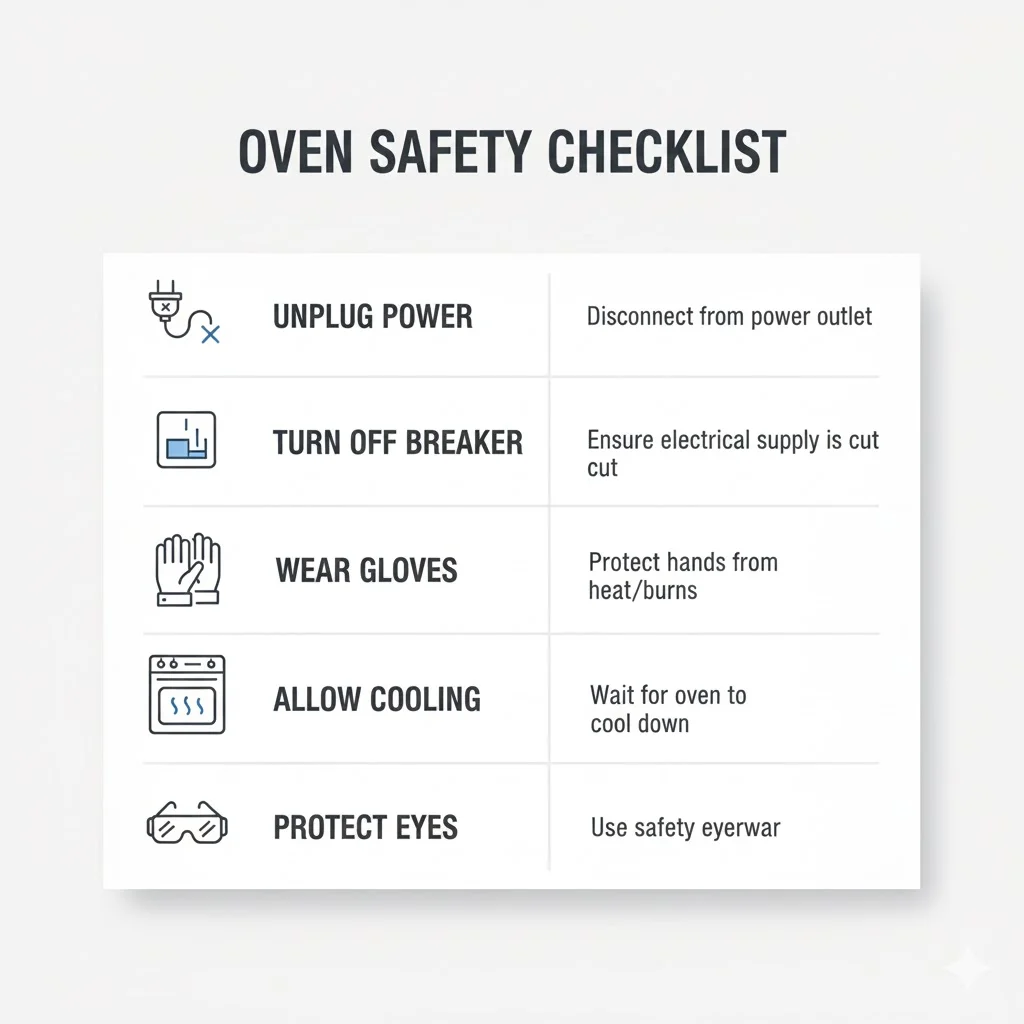
Quick Safety Checklist
- Turn the oven off and let it cool completely (warm glass can shatter).
- Unplug the oven or switch off the circuit breaker.
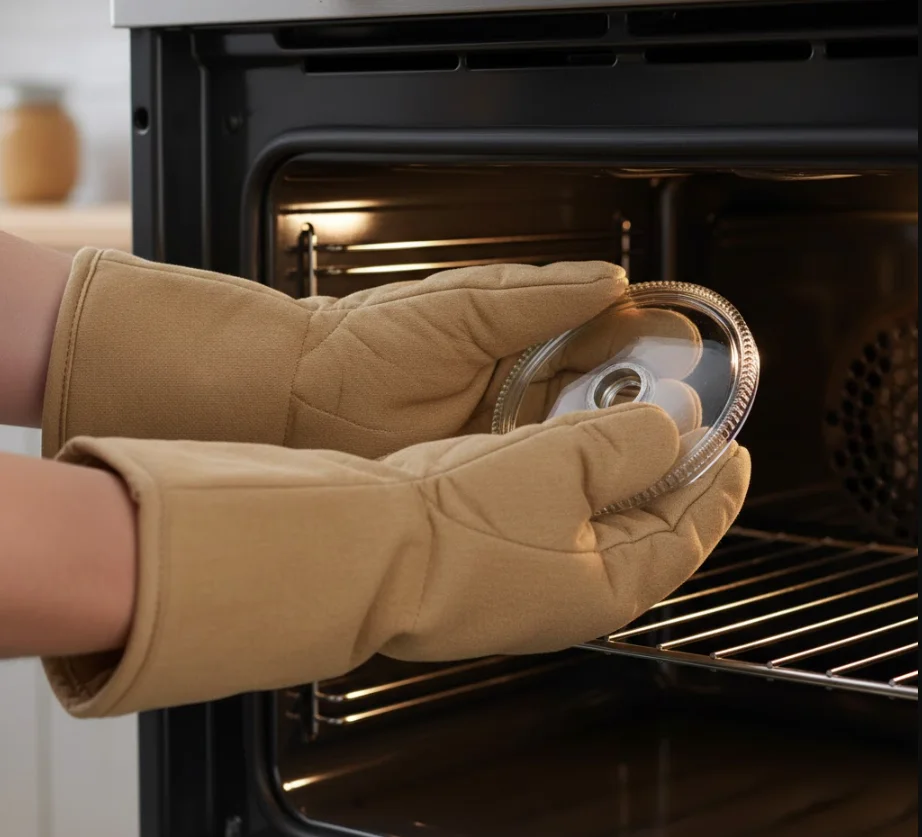
- Wear heat-resistant gloves to protect your hands from glass, heat, or sharp edges.
- Use a step stool if your oven is mounted higher, so you don’t lose balance.
- Keep the area well-lit so you can clearly see the bulb and socket.
- A simple reset like disconnecting power can sometimes even fix an oven light not working if the control board glitches.
When NOT to Attempt a DIY
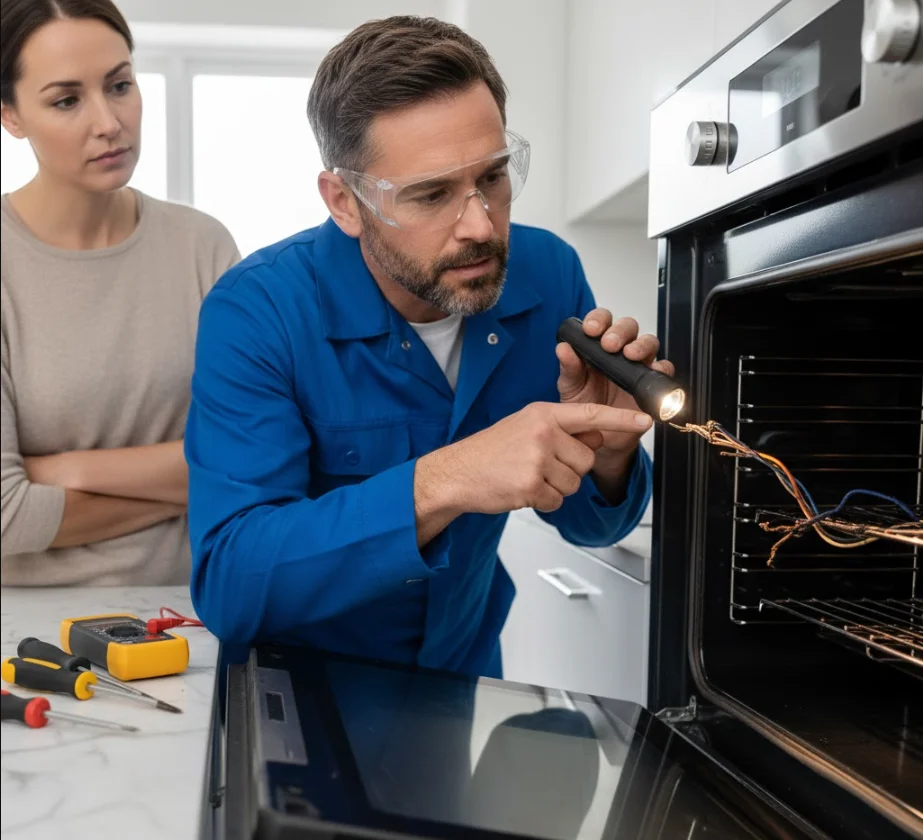
There are moments when it’s best to stop and call a professional instead of continuing on your own. Avoid DIY if you notice:
- A burning smell or smoke.
- Exposed or melted wiring inside the oven.
- A cracked socket or signs of electrical burning.
- Issues with a gas oven, such as unusual smells or ignition problems.
- The breaker keeps tripping when you turn the oven on.
These signs point to bigger electrical problems, not just a simple need to replace an oven light bulb.
What You’ll Need (Tools & Parts)
Tools
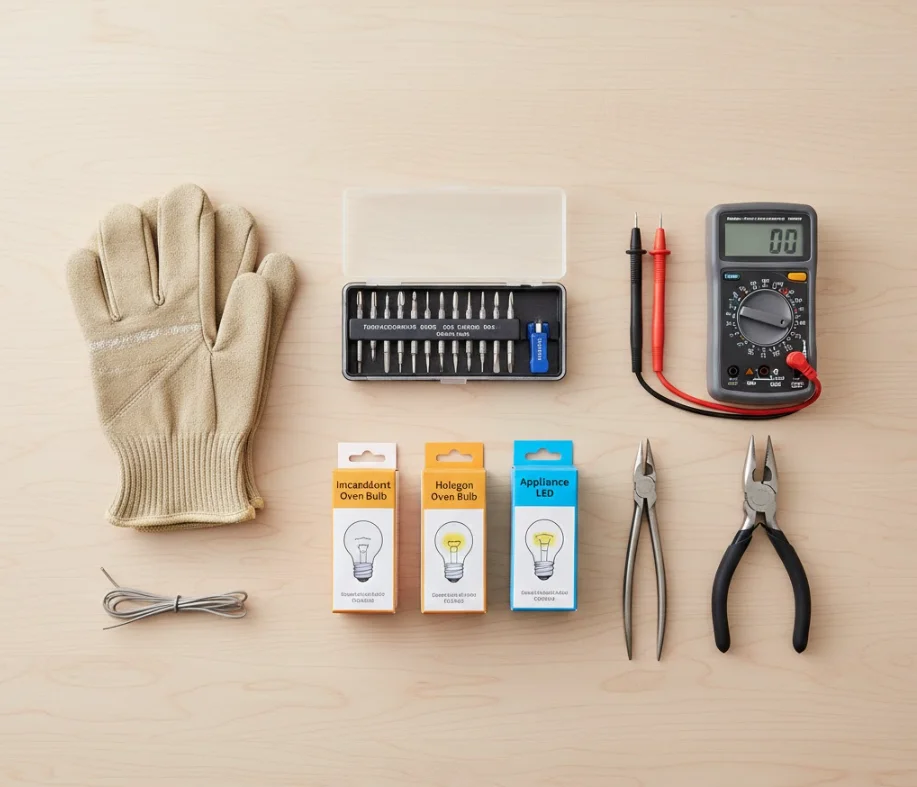
Having the right tools saves time and prevents damage. For troubleshooting an oven light not working, gather:
- Screwdriver set (flat and Phillips)
- Multimeter or continuity tester
- Lamp tester (optional but helpful)
- Needle-nose pliers
- Flashlight
- Heat-resistant gloves
- Soft cloth to handle the glass cover
These basics cover nearly all simple oven-light fixes.
Parts
Most of the time, the issue is just a burnt-out bulb. To replace the oven light bulb, you may need one of these:
- Incandescent appliance bulb (commonly 40W or heat-rated)
- Halogen appliance bulb
- Heat-resistant LED oven bulb (only if your oven supports LED)
Always choose a bulb labeled “For Oven Use” or “High Temperature Appliance Bulb.” Regular household bulbs will burn out instantly.
How to Choose the Right Bulb (Supporting Keyword Use)
To safely replace the oven light bulb, match:
- The wattage recommended by your oven manufacturer
- The base type (usually E14, E17, or E26)
- The temperature rating (must handle oven heat)
If your owner’s manual is missing, remove the old bulb and check its markings. Using the wrong bulb type is one of the top causes behind an oven light not working again shortly after replacement.
Quick Checks — Fast Things to Try First (5-Minute Troubleshooting)
Sometimes the fastest fix is the simplest one. Before removing covers, testing sockets, or grabbing tools, try these quick checks. Many people discover the issue wasn’t complicated at all and their oven light not working turns out to have an easy solution.
Check the Bulb Visually
Start by taking a close look at the bulb through the oven’s glass cover. You’re checking for:
- A broken or loose filament
- Cloudy, darkened, or burnt-looking glass
- A bulb that looks “shaken loose” from heat cycles
If the bulb looks damaged or burned out, there’s a high chance you simply need to replace the oven light bulb. Even if you’re unsure, it’s still often the best first step appliance bulbs are inexpensive, and a burnt bulb is the #1 cause of an oven light not working.
Check the Oven Door
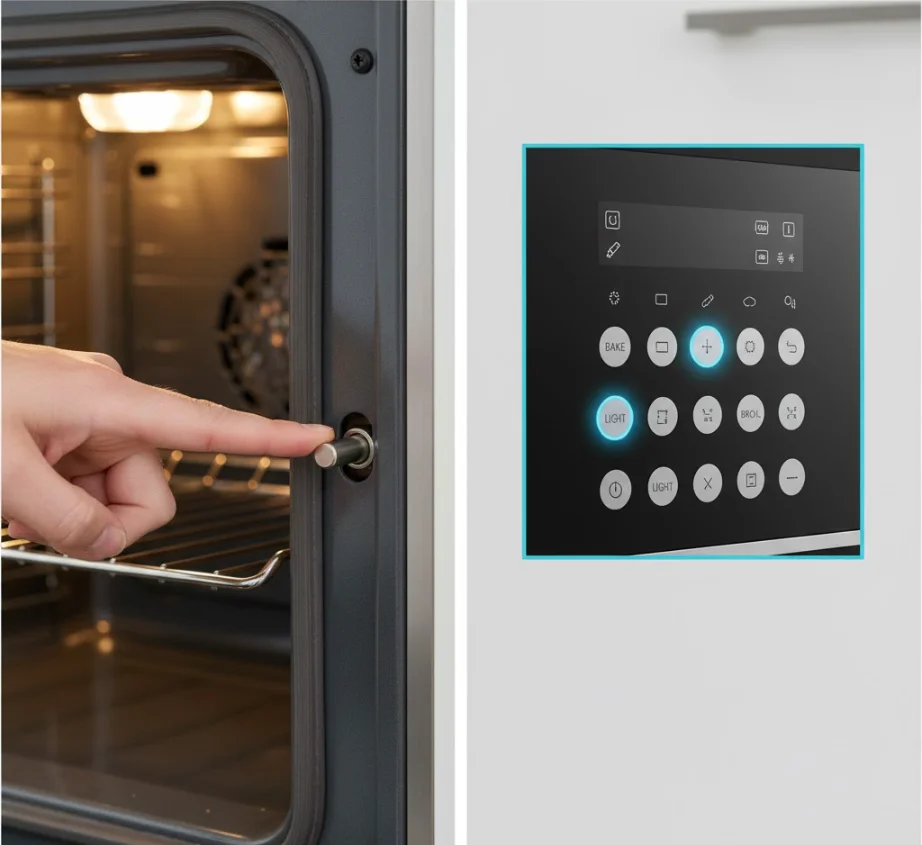
Many ovens include a door-activated switch that controls the interior light. If this tiny switch gets stuck or faulty, the oven light not working even though everything else is working.
Quick test:
- Open the oven door and listen for a faint click.
- Press the little door switch manually with your finger to see if the light flickers.
- Check if debris or hardened grease is blocking the switch from fully pressing in.
If pressing the switch manually turns the light on, the door isn’t activating it properly and the bulb probably isn’t the issue.
Try the Light With the Door Open/Closed (Model-Dependent)
Different ovens behave differently:
- Some turn the light on automatically when the door opens.
- Some only turn it on when the oven is running.
- Some use a light button that works only in certain modes.
Try these quick flips:
- Switch the light button on/off with the door open.
- Try the same with the door closed.
- Turn the oven on briefly (just for testing) to see if the light activates.
If the bulb suddenly turns on during one of these checks, the issue is likely mode-specific or caused by a sticky door switch, not a dead bulb.
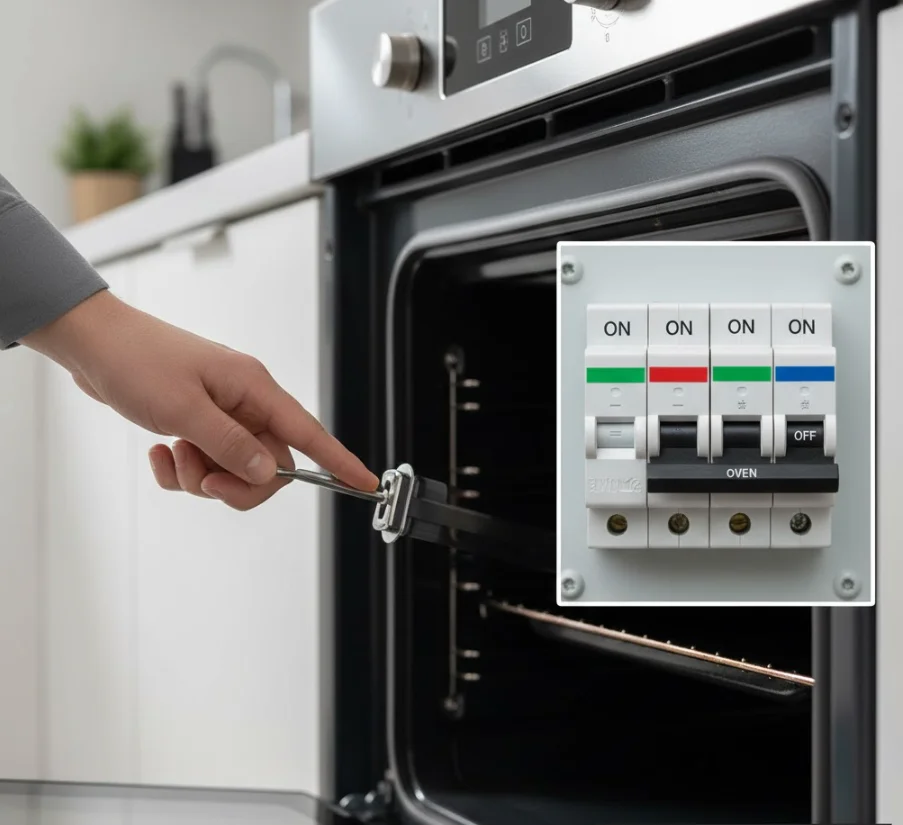
Check the Breaker or Fuse Box
If the oven light not working appeared right after a power surge, or if other oven functions seem weak or inconsistent, the electrical circuit may be the problem.
Fast breaker check:
- Look for a tripped breaker connected to the oven circuit.
- Flip it fully off and then on again.
- If your home uses fuses, check for a blown fuse in the appliance line.
A tripped breaker doesn’t always shut off the whole oven; sometimes only certain functions, like the interior light, get affected.
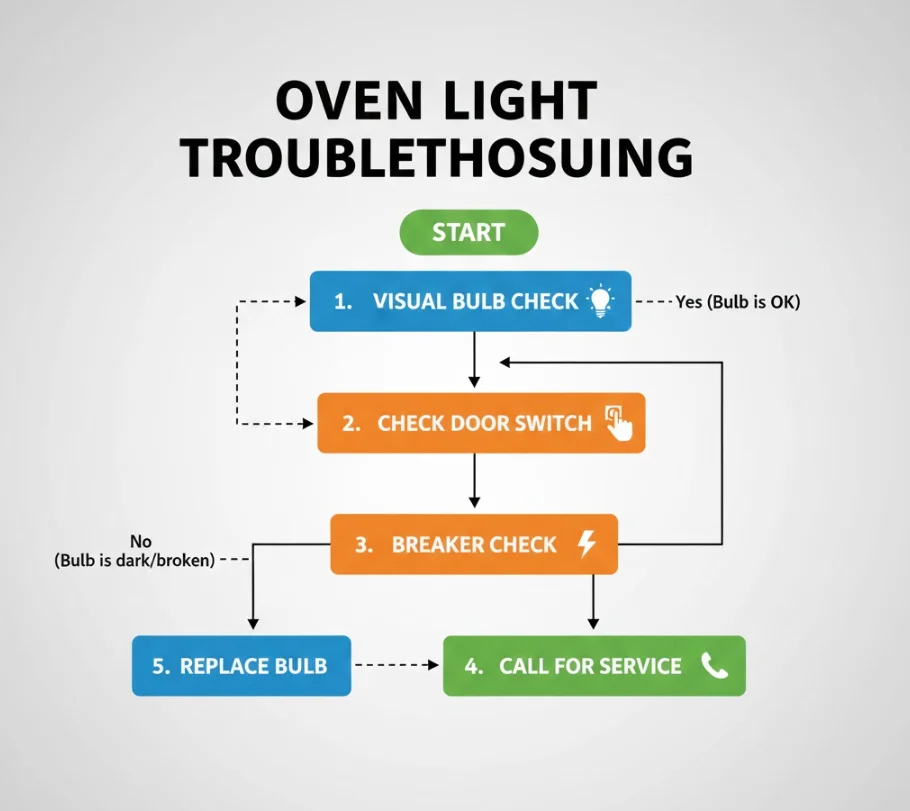
Step-by-Step Guide — Diagnose and Fix
If your oven light not working, follow these steps in order. Each step rules out the most common issues so you can pinpoint the exact cause. Take your time, finish one step completely, and only then move to the next.
Step 1 — Identify Your Oven Model & Bulb Type
Before touching anything inside the oven, find out what bulb your oven uses. This saves time and prevents buying the wrong replacement.
How to find the bulb type:
- Check the owner’s manual (printed book or brand website).
- Look at the model sticker/plate, usually found:
- On the frame behind the oven door
- Inside the drawer beneath the oven
- On the side panel of wall ovens
- If unsure, remove the glass light cover to peek at the bulb base. The base type and wattage may be printed on the metal section.
For most ovens, bulbs are either:
- 40W incandescent appliance bulb
- Halogen oven bulb
- Heat-rated appliance LED bulb (newer models)
Knowing this helps you correctly replace the oven light bulb later in the process.
Step 2 — Power Test (Isolate Appliance Power)
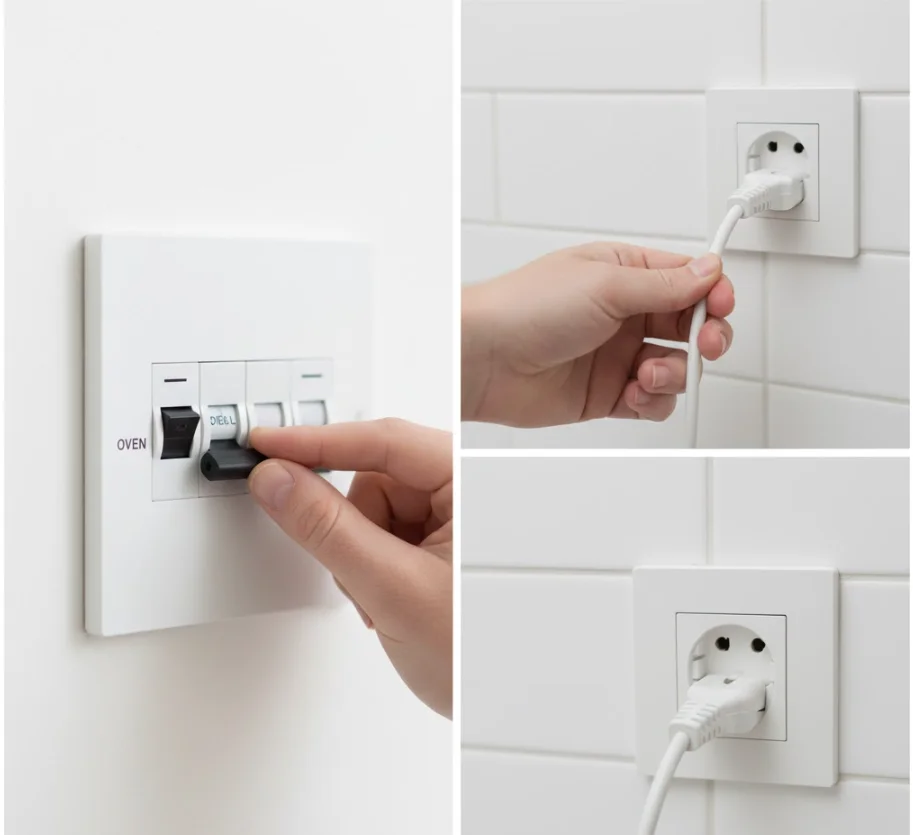
This step keeps you safe and prevents accidental shocks.
How to safely turn off power:
- Unplug the oven if it has a visible plug.
- If it’s hardwired, switch off the breaker connected to the oven.
- Confirm the oven display and functions turn off completely.
If you have a multimeter:
- Set it to AC voltage.
- Touch the probes to the socket contacts (with the bulb removed).
- If you read no power, the issue may be wiring, a faulty switch, or a control board problem, not just a bulb.
If you’re not comfortable doing this, skip the voltage test and continue to the bulb removal steps. Beginners don’t need to perform advanced testing to fix an oven light not working.
Step 3 — Remove the Oven Light Cover and Bulb
Different ovens have different light cover designs:
- Twist-off glass covers (most common)
- Clip-on metal covers
- Screw-on covers with small Phillips screws
How to remove the cover safely:
- Ensure the oven is cool.
- Put on heat-resistant gloves.
- Support the cover with one hand and twist or unclip gently.
- Carefully pull the bulb straight out, don’t bend or twist too hard.
Safe removal tips:
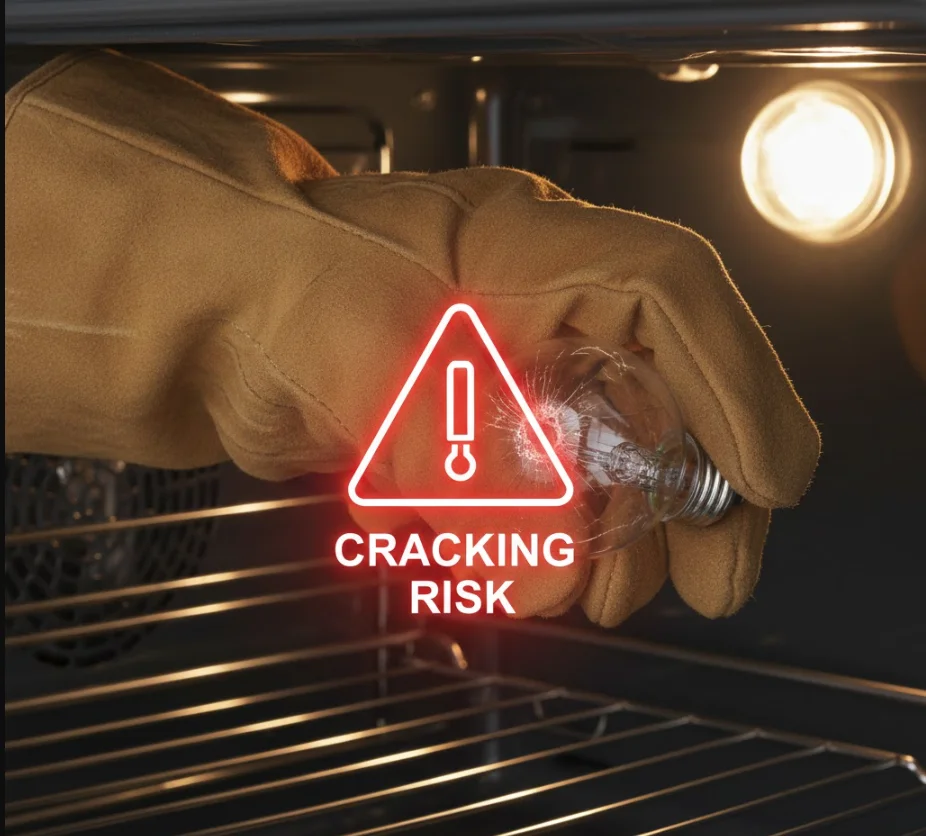
- Never use force; stuck covers can shatter.
- Use a dry cloth or gloves to improve grip.
- If the bulb is hot, wait, hot bulbs can explode if handled.
This is usually the moment where people discover why their oven light not working; the bulb is often simply burned out.
Step 4 — Inspect the Bulb and Socket
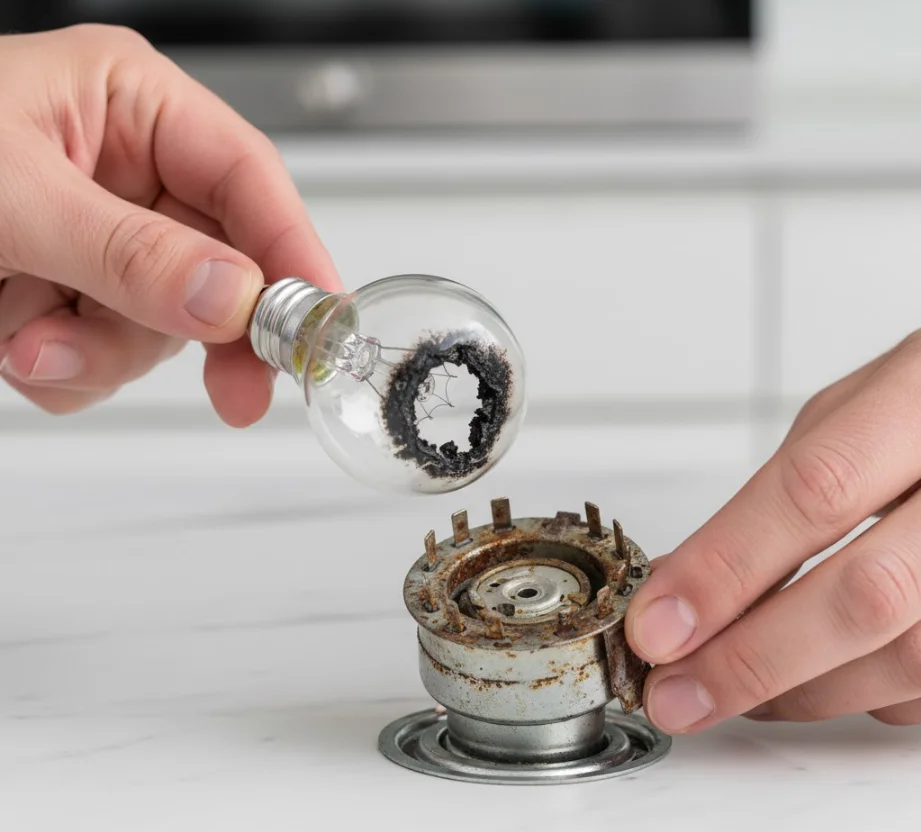
Now that the bulb is out, check for signs of damage.
What to look for on the bulb:
- Blackened or cloudy glass
- A broken or dangling filament
- Loose wiggling inside the base
- Burn marks around the metal threads
Next, inspect the socket:
- Look for corrosion or rust
- Check for loose contacts
- Look for dark burn spots
- Ensure no grease buildup is blocking the connection
How to test the bulb (optional but helpful):
- Use a lamp tester
- Or try the bulb in another appliance that fits the same socket
- Or use a multimeter to check continuity
If the bulb fails the test: 👉 You need to replace the oven light bulb.
Step 5 — Replace the Bulb (Replace Oven Light Bulb)
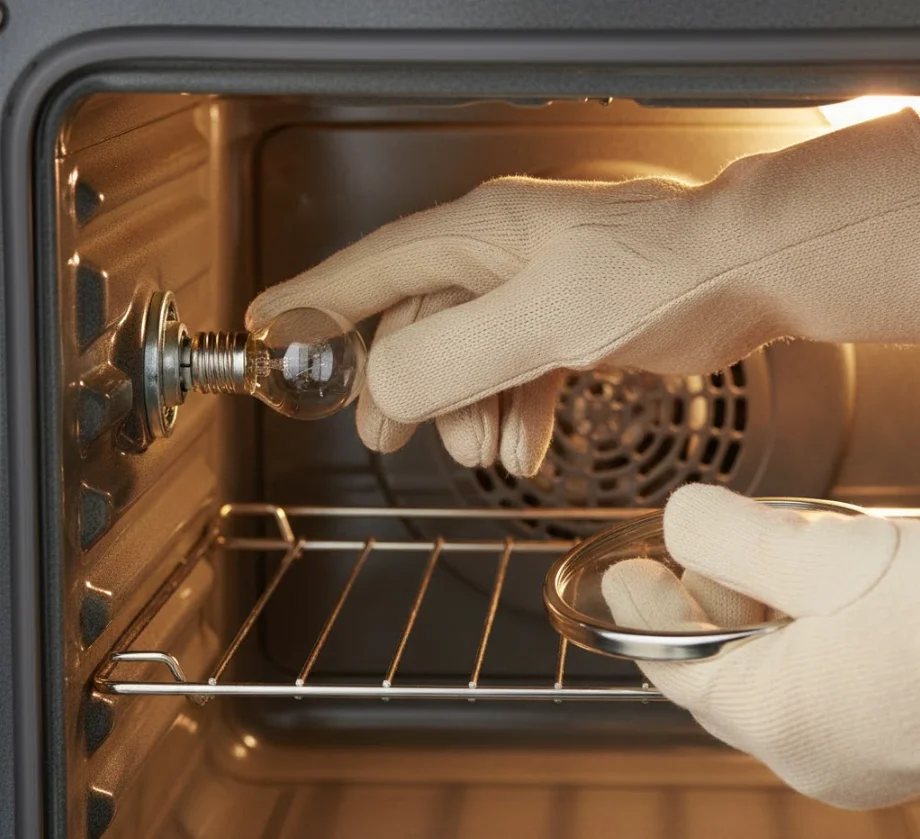
Choosing the right replacement is important. Avoid regular household bulbs; they burn out immediately inside an oven.
Choose a replacement that matches:
- The wattage listed in your manual or old bulb
- The bulb base type (E14, E17, E26, etc.)
- The temperature rating (must be labeled for oven use)
How to install the new bulb:
- With the power still off, push the bulb straight into the socket.
- Make sure it’s snug but don’t over-tighten (for screw-in styles).
- Wipe the bulb with a clean cloth to remove fingerprints.
- Reattach the glass cover securely.
Now your bulb is replaced and ready for testing.
Step 6 — Test the Light After Replacement
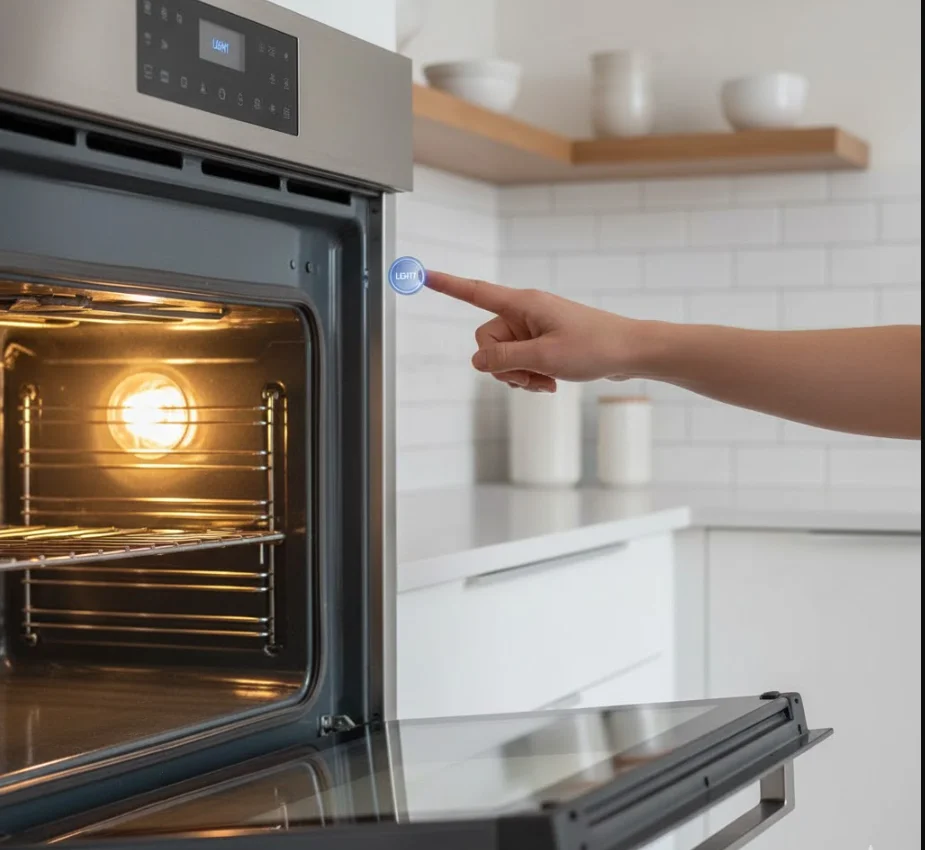
- Restore power (plug in or turn on the breaker).
- Open the oven door and most models light up automatically.
- Press the light button if your oven has one.
- Turn the oven on briefly (some models only light up during operation).
If the new bulb lights up, your oven light problem is solved.
If not, continue to the next step.
Step 7 — If Light Still Doesn’t Work: Test Socket & Wiring
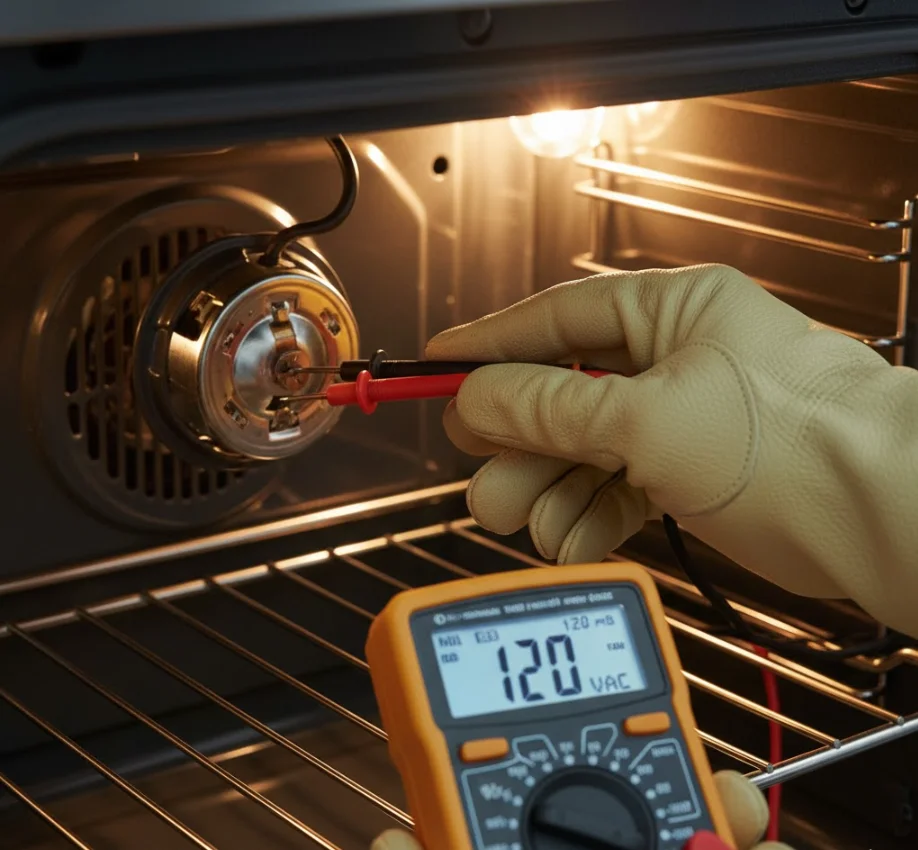
If a new bulb didn’t fix the issue, the problem may be electrical.
Check for basic issues:
- Loose wires connected to the bulb housing
- Corrosion inside the socket
- Melted or discolored plastic around the socket
- A loose wire in the back of the oven cavity (common from heat cycles)
If you have a multimeter:
- Test the socket for voltage
- Test wiring for continuity
⚠️ Stop immediately if you see burnt wiring, melted components, or smell burning. These are signs you should not continue DIY repairs.
Step 8 — Check Oven Control Board & Door Switches
If wiring looks good and a new bulb didn’t help, the issue might be:
- Door switch failure
Signs include:
- Light flickers when pressing the door switch
- Light only works with force applied
- No click sound when pressing the switch
- Control board issue
Symptoms include:
- Light button doesn’t respond
- Oven makes clicking noises but no light turns on
- Multiple oven functions acting glitchy
A bad control board is more complex and usually requires professional diagnosis.
Step 9 — When to Call a Professional
Stop DIY and call a technician if you notice:
- Burning smell or smoke
- Melted wiring or connectors
- Light socket sparks or overheats
- You suspect a control board issue
- Your oven is a gas oven and shows unusual behavior
- Breaker keeps tripping when you turn the oven on
At this point, the issue is beyond a simple fix and it’s safer to let a qualified appliance technician handle the repair.
Tips to Make the Repair Easier and Last Longer
Sometimes a simple fix solves your oven light not working issue, but a few smart habits can prevent the problem from happening again. These practical tips will help your new bulb last longer and keep your oven’s lighting system working smoothly.
Keep a Spare Oven Bulb Handy
Oven bulbs burn out more often than regular bulbs because they sit in extreme heat. Keeping a spare heat-rated appliance bulb nearby means you can replace the oven light bulb immediately without any delays.
Take Note of the Exact Bulb Specs
Before you throw away your old bulb, write down:
- Bulb wattage
- Base type (E14, E17, E26, etc.)
- Bulb style: halogen, incandescent, or LED appliance
This prevents buying the wrong type, which is a common reason people end up with their oven light not working again shortly after replacement.
Why Is My Oven Smoking? (Common Reasons & Fixes)
Clean the Socket Gently Before Installing the New Bulb
A little grease or residue inside the socket can block the connection.
- Use a dry cloth or soft brush.
- Never use water or cleaners directly inside the socket.
- Avoid touching the metal contacts with fingers or tools.
This ensures the new bulb makes full contact and shines correctly.
Avoid Over-Tightening the Glass Cover
Twist the glass cover only until it’s snug. Over-tightening can:
- Crack the glass
- Strip the metal threads
- Make the cover impossible to remove next time
A damaged cover can also contribute to the oven light not working because a loose or cracked cover may expose the bulb to steam or debris.
Use Heat-Rated LED Bulbs (If Your Oven Supports Them)
Some newer ovens support special high-temperature LED bulbs. These:
- Use less energy
- Last significantly longer
- Handle vibration and heat better
Check your manual before switching to LED. Using unsupported bulb types is one of the top causes of bulbs blowing early.
Common Mistakes to Avoid
Avoiding these mistakes can save you time, money, and frustration and prevent your oven light not working again in the near future.
Skipping the Power-Off Step
Trying to replace the bulb with the oven still powered is dangerous. This is the most common (and risky) mistake beginners make.
- Always unplug the oven or shut off the breaker.
Using the Wrong Bulb Type or Wattage
Using a standard household bulb or wrong wattage:
- Causes instant burnout
- Can crack under heat
- May damage the socket
Always use an oven-rated bulb when you replace the oven light bulb.
Over-Tightening the Bulb or Glass Cover
Too much force can:
- Crack the bulb
- Break the glass cover
- Damage the socket threads
If the cover sticks later, it becomes much harder to fix an oven light not working issue.
Forcing a Stuck Light Cover
If the glass cover won’t budge:
- Don’t hit it
- Don’t pry it with a knife
- Don’t twist harder until it cracks
Use a dry cloth for grip or warm the oven slightly (then cool it) to loosen grease. Forcing it can cause expensive damage.
Ignoring the Door Switch or Breaker
Many people replace the bulb only to find the oven light not working because the real problem was:
- A faulty door switch
- A tripped breaker
- A stuck switch that doesn’t “click”
Always check these before assuming the bulb is the issue.
FAQs About the Best Oven Light Bulb
Q1: What size bulb does my oven use?
- Overview of common oven bulb sizes
- How to check your model’s specifications
- Why choosing the correct size matters for performance and safety
Q2: Can I use a regular LED bulb in an oven?
- Explanation of temperature-resistant vs. regular LEDs
- Risks of installing non-heat-rated bulbs
- Recommended high-heat options when choosing the best oven light bulb
Q3: How do I know if the oven light socket is dead?
- Signs of a faulty socket vs. a bad bulb
- Quick troubleshooting steps
- When replacement or professional help is needed
Q4: Why does the light flicker only when the oven is on?
- Common causes (loose connection, worn socket, wrong bulb type)
- How heat affects low-quality bulbs
- Why choosing a durable, heat-rated bulb prevents flickering
Q5: Is it safe to change the bulb while the oven is hot?
- Safety risks and recommended cooling time
- Heat-related hazards with glass components
- Proper replacement steps for high-temperature bulbs
Q6: How long do oven bulbs usually last?
- Typical lifespan of high-temperature bulbs
- Why usage patterns affect longevity
- How to choose the best oven light bulb for maximum durability
Q7: Will a blown oven light bulb affect oven performance?
- Clarifying impact on cooking function
- Why visibility still matters for accuracy and safety
- Benefits of replacing with the right heat-resistant bulb
Q8: Can I replace the bulb myself if I rent the apartment?
- Tenant responsibilities for minor maintenance
- When you may need landlord approval
- Choosing a safe, compatible bulb that won’t void appliance agreements
Quick Troubleshooting Checklist (One-Page Printable)
Use this fast, beginner-friendly checklist to diagnose an oven light not working without reading the full guide. Print it or screenshot it for easy reference.
- ✓ Step 1: Safety First
- Turn the oven off and let it cool completely.
- Unplug the oven (if possible) or switch off the circuit breaker.
- ✓ Step 2: Check the Bulb
- Open the oven door and inspect the bulb visually.
- Look for dark spots, broken filaments, or cloudy glass (signs it’s burnt out).
- Make sure the bulb is tightened securely. Sometimes a loose bulb causes the oven light not working problem.
- ✓ Step 3: Check the Bulb Cover
- Remove the glass cover and clean off grease or debris.
- Inspect for cracks or burns that may prevent proper contact.
- ✓ Step 4: Replace the Oven Light Bulb
- Install the correct replacement bulb recommended for your model.
- Make sure it’s seated properly in the socket.
- ✓ Step 5: Test the Oven Light Button / Switch
- Press the oven light button, listen and feel for a click.
- Try turning the oven on briefly; some lights only work when heating.
- ✓ Step 6: Inspect the Light Socket
- Look for corrosion, burns, or loose wiring.
- If the bulb is new but still won’t turn on, the socket may be faulty.
- ✓ Step 7: Reset the Power
- Reset the circuit breaker in case of a small power glitch.
- Plug the oven back in and test again.
- ✓ Step 8: When to Call a Technician
- Breaker keeps tripping
- Burnt smell, sparking, or melted wiring
- Control board not responding
- New bulb still doesn’t light up
Conclusion
Fixing an oven light not working issue is usually much easier than most people expect. With just a few basic checks like inspecting the bulb, tightening the cover, testing the socket, or replacing the oven light bulb you can get things working again in minutes. And if something doesn’t fix it right away, going step by step helps you quickly narrow down the real cause.
Most oven light problems come from simple, inexpensive parts, so don’t worry you’re rarely dealing with anything serious. But if the wiring looks damaged, the control panel isn’t responding, or the breaker keeps tripping, that’s the moment to call a professional.
Before you go, feel free to bookmark this guide so you can come back anytime you run into the same problem. You can also keep the quick checklist handy or return to troubleshoot another appliance issue whenever you need help.